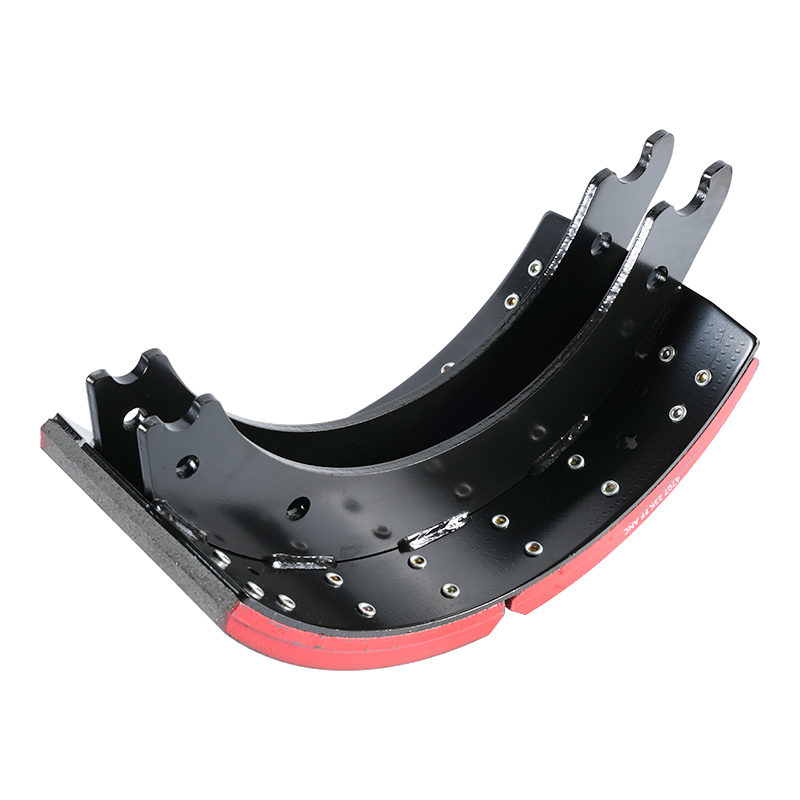
Mastering Brake Shoe Assembly Installation for Peak Performance
 2024.10.25
 Industry News
Installing brake shoe assemblies might seem straightforward, but it’s a task that demands precision and attention to detail to ensure optimal performance. When done correctly, your brakes will respond better, providing a smoother and safer driving experience. Let’s dive into the best practices that every technician and car enthusiast should know.
First and foremost, it’s essential to start with the right tools and parts. Before you even begin the installation, ensure that you have all necessary components on hand, including the brake shoes, springs, and any other hardware. It's crucial to use high-quality, compatible parts specific to the vehicle model. Mismatched components can lead to poor braking performance or premature wear, which is something no driver wants to experience. Check the condition of the brake drum as well; a worn or damaged drum can severely impact how well the shoes function. If the drum is scored or excessively worn, it should be resurfaced or replaced to provide a proper surface for the shoes to grip.
Once you’ve gathered your tools and parts, the next step is preparation. This involves thoroughly cleaning the brake assembly area. Remove any dust, dirt, or grease from the components, as contaminants can interfere with the brake shoes' ability to create friction. It’s also a good idea to inspect the springs and hardware for signs of wear or damage, as these components play a significant role in ensuring that the brake shoes engage and disengage smoothly. If any parts are found to be faulty, replace them before proceeding with the installation.

With the preparation complete, you can start installing the brake shoes. Pay close attention to the orientation of the shoes; most assemblies are designed with specific left and right shoes. Incorrect placement can lead to uneven wear and reduced braking efficiency. Once you have the shoes positioned correctly, install the springs and adjust the brake shoes to the proper distance from the drum. This adjustment is critical—too much clearance can cause a spongy brake feel, while too little can lead to dragging, which causes unnecessary wear and heat buildup.
After the shoes are installed, it’s important to check the adjustment mechanism, usually a star wheel or an automatic adjuster, to ensure it's functioning correctly. This mechanism maintains the optimal distance between the shoes and drum as the lining wears down. Following this, a thorough inspection of the entire assembly is crucial. Make sure everything is secure, and double-check that all springs and hardware are properly installed. A meticulous inspection can prevent issues down the line, such as brake noise or ineffective braking.
Finally, after installation, conduct a series of tests to ensure everything is functioning as it should. This involves taking the vehicle for a short drive at low speeds and gradually applying the brakes to allow the shoes to seat properly against the drum. Listen for any unusual sounds and monitor the braking performance. If the brakes feel spongy or unresponsive, it may indicate that further adjustments are needed.
While installing brake shoe assemblies may appear simple, it requires a comprehensive approach to ensure optimal performance. By using the right parts, preparing the workspace, installing correctly, and performing thorough post-installation checks, you can guarantee that the brake system will operate smoothly and efficiently. Taking the time to get this process right not only enhances vehicle safety but also contributes to a more enjoyable driving experience. Happy braking!

 Eng
Eng  中文简体
中文简体


