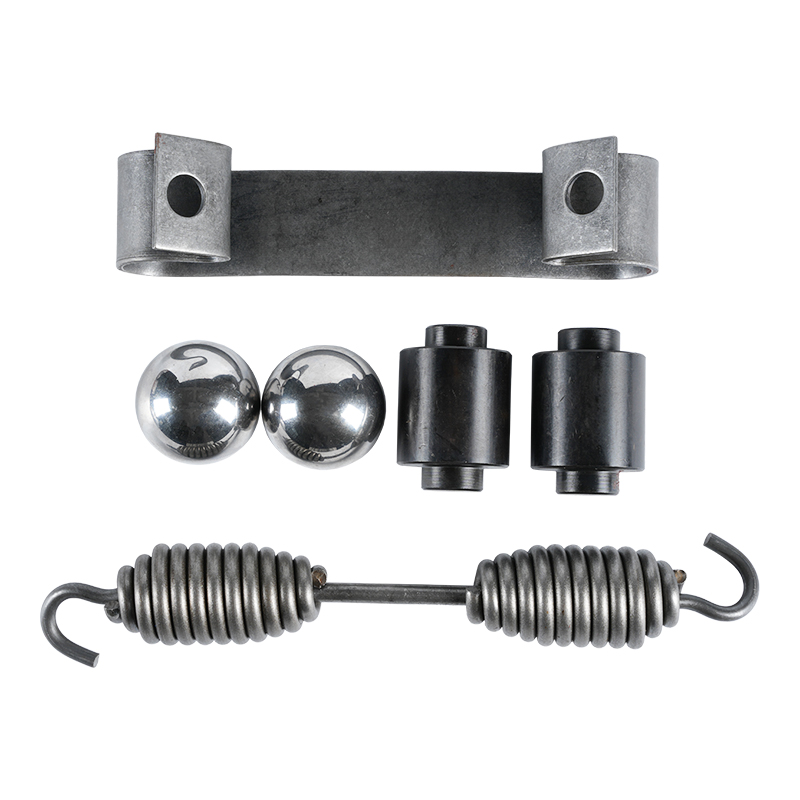
Step-by-Step Guide to Using a Brake Assembly Repair Kit
 2025.03.26
 Industry News
Repairing your vehicle's brake system using a brake assembly repair kit can be a rewarding experience, especially if you're looking to save money and gain hands-on knowledge. With the right tools and preparation, even beginners can successfully complete this task. Here's a step-by-step guide to help you navigate the process.
Step 1: Gather Tools and Prepare the Workspace
Before starting, ensure you have all the necessary tools, including a jack, lug wrench, socket set, screwdrivers, and brake cleaner. Place your vehicle on a flat surface and engage the parking brake. Use wheel chocks to prevent rolling and lift the car securely using a jack stand.
Step 2: Remove the Wheel
Loosen the lug nuts slightly before lifting the vehicle. Once the car is elevated, remove the lug nuts completely and take off the wheel to access the brake assembly.
Step 3: Inspect the Brake System
Examine the brake pads, rotors, calipers, and other components for signs of wear or damage. This inspection will help you determine which parts need replacement. Refer to the repair kit's contents to ensure you have everything required for the job.
Step 4: Replace the Brake Pads
Using a wrench, remove the caliper bolts and carefully slide the caliper off the rotor. Take out the old brake pads and replace them with new ones from the kit. Ensure the pads are seated correctly before reinstalling the caliper.

Step 5: Install New Rotors (If Necessary)
If the rotors are warped or excessively worn, replace them with new ones. Remove the old rotor by unscrewing any retaining screws and sliding it off the hub. Attach the new rotor and secure it in place.
Step 6: Reassemble the Caliper
Reattach the caliper over the new brake pads, ensuring the pistons are compressed. Use a C-clamp or piston tool if needed. Tighten the caliper bolts to the manufacturer's specifications.
Step 7: Test the System
Reinstall the wheel and lower the vehicle. Pump the brake pedal several times to ensure the pads are properly seated against the rotor. Test drive the vehicle slowly to confirm that the brakes are functioning correctly.
Step 8: Final Checks and Cleanup
Double-check all connections and tighten any loose bolts. Clean up any spilled brake fluid or debris from the workspace. Dispose of old parts responsibly and store unused kit components for future use.

 Eng
Eng  中文简体
中文简体


